Easy slider user manual
CONTENTS
3. General configurable options
Description
If you're running the web-store and want to see it successful, you have to make store pages eye-catching. In order to grab visitors' attention to web-pages, we recommend to use slider with advertising. Therefore we offer you to check Magento Image Slider extension with Nivo slider integration.The extension will help to easily create an unlimited number of professional looking image sliders and improve overall look of your store just in 1 minute. Using the module, you will be able to display image slides with title and short description linked to any menu item.
Also you can place your slider at any place of your store by such ways as magento widget, as XML code and as block code.
Installation
Thank you for downloading our magento extension. Please follow these instructions to proceed with the installation of your theme:Turn store compilation off
Navigate to Admin -> Tools -> Compilation and deactivate compilation mode for your store.Copy all files into your magento directory
Simply copy all files from "extension source x.x.x" directory into your magento store directory.In case you have different then "default" default folder - rename folders app/design/frontend/default/default and skin/frontend/default/default.Turn your magento cache off
Navigate to Admin -> System -> Manage Cache and deactivate cache for your store.Refresh your admin user access rights
Simply logout from your store admin and then login back.Next steps
Navigate to Admin > CMS > Easy Slider and create your first slider.General configurable options
Please go Admin>System>Configuration>Easy Slide and select Yes to enable the extension. Then you can select Yes to load jQuery library using NoConflict mode.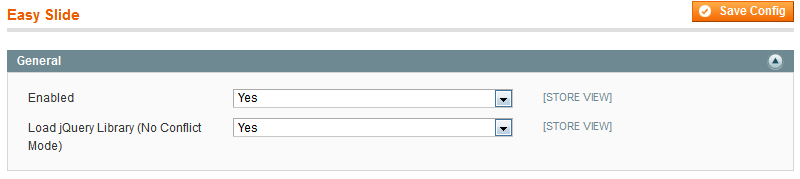
Admin interfaces
Templates-Master provides interfaces that allow to manage settings of sliders and slides directly in admin interface. Depending on slider type that you’ve chosen, you can configure a lot of effect types, some different animation and control types. Also Easy Slider interface allows you to specify duration and frequency for each slider.
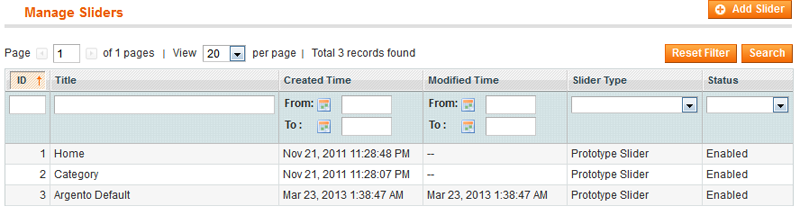
To edit the slider, please select the one you need and click on. At Slider information you can configure the slider options, create and modify slides.
Configuration tab
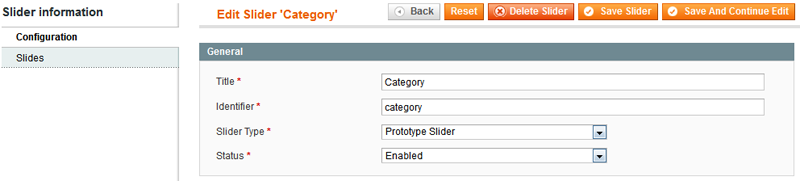
- In the Title field specify slider name.
- In the Identifier field specify the unique slider’s identifier.
- In the Slider Type field select slider type. Possible values are Prototype Slider and Nivo Slider (jQuery).
- In the Status field select Yes to enable new created slider.
When you select Prototype slider type, you can configure the following options:
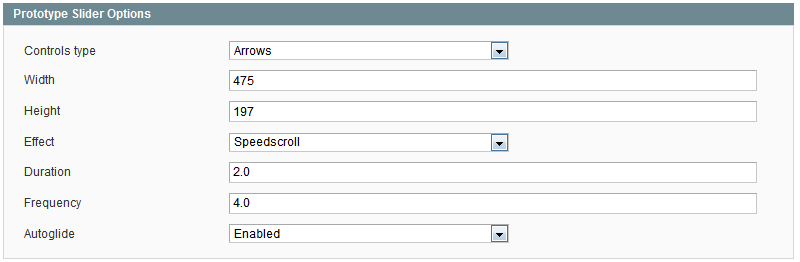
- In the Controls type field select arrow or numbers type of control.
- In the Width field specify the slider block width.
- In the Height field specify the slider block height.
- In the Effect field select animation effect that will be used for slider block. Possible values are Scroll, Speedscroll, Blend, Mosaic and Fade.
- In the Duration field set the duration in seconds for each slide.
- In the Frequency field set the frequency in seconds for each slide.
- In the Autoglide field select Yes to enable autoglide. The slider will be launched right after load.
When you select Nivo Slider type, you can configure the following options:
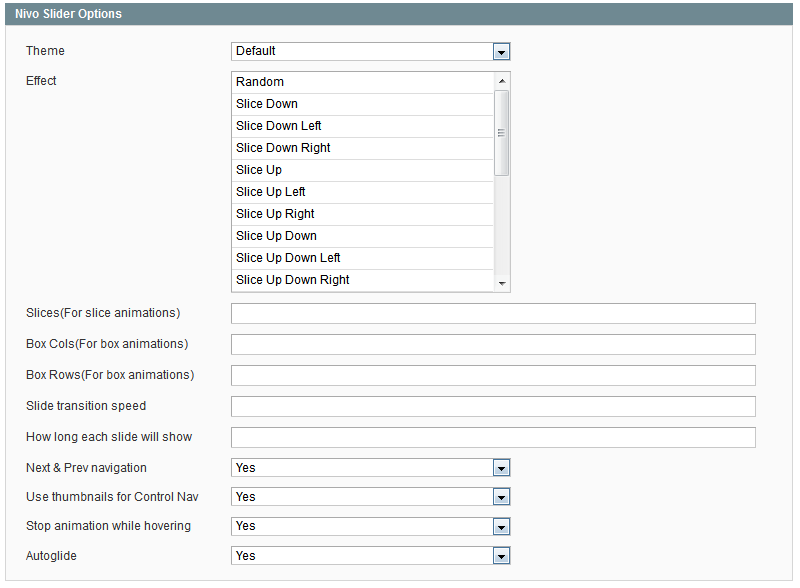
- In the Theme field please select the theme of Nivo Slider type.
- In the Effect field select animation effect that will be used for slider block.
- In the Slices field please specify the number of slices for animation.
- In the Box Cols field specify the number of cols for animation.
- In the Box Rows field specify the number of rows for animation.
- In the Slide transition speed field set the speed of slide transition for each slide.
- In the How long each slide will show field specify the time how long the slide will be shown.
- In the Next and Prev navigation field select Yes to display arrows of next and previous navigation.
- In the Use thumbnails for Control Nav field select Yes to display slide thumbnails under the main slide.
- In the Stop animation while hovering field select Yes if you want slide to be stopped, when user hovers over it.
- In the Autoglide field select Yes to enable autoglide. Slider will start to change slides as soon as page will be loaded.
Slides tab
At slides tab you can place the description for each slide that you’ve created. You are allowed to select the position of the description on the slide and select its background. Also you can link the slide with any product in the store. Slides description will help you to place content that is readable by search engines.
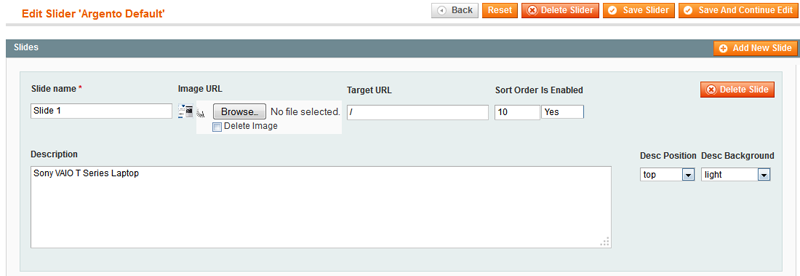
In order to modify the slide, please follow next steps:
- In the Slide name field specify slide name.
- In the Target URL field specify target url, that will allow user to follow the link after clicking on slide.
- In the Sort Order field set the sort order for created slide.
- In the Is Enabled field select Yes to enable the loaded image.
- In the Description field specify the description of the slide if you need. It can be placed on various positions.
Note : Nivoslider doesn't have description position and background settings. It's design is based on nivo slider themes.
- In the Desc Position field select the slide’s position from drop down list.
- In the Desc Background field select the background for the description.
Use cases
Using Easy Slider as Magento widget
- Open cms page or static block at magento admin.
- Open page content tab and click insert widget button.
- Select "Easyslider" widget.
- Select slider you want to place.
- Save changes.
Using Easy Slider as XML code
You can also insert Easy Slider block with XML code. In order to change, please connect to FTP server and find your store folder with Magento files. Then follow the app/design/frontend/base/default/layout/tm/easyslider.xml. Open file to be edited. Search <catalog_product_view> section and make changes in reference name.<reference name="content"> <block type="easyslide/slider" name="homepage.slideridentificator"> <action method="setSliderId"><id>slideridentificator</id></action> </block> </reference>
Using Easy Slider as block code
You can also insert Easy Slider block in your CMS pages and static blocks files with next code:
{{block type="easyslide/slider" name="homepage.slideridentificator" slider_id="slideridentificator" }}
Support
Template Master team is always ready to assist you with any issue related to our products.
We do offer:
- Free commercial products installation services
- Free updates within offered support period
- 3 months of free guaranteed support
Our duties:
- Responsibility for resolving products bugs.
- Help with technical queries.
- Support of popular web browsers (Firefox, Chrome, Safari, Internet Explorer 7+).
- Technical support in installation and usage of our products.
Common questions and ideas
Come up with new ideas!
-
0voteA: Right now your slider is placed at .main container which has limited width so you can't make slider width 100%. You should move slider out of the container and after that it should be working fine.Posted by on Tuesday, October 27, 2015